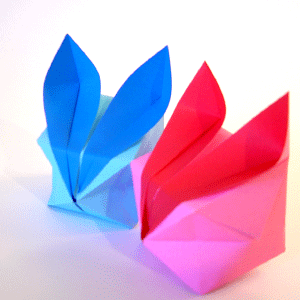
Origami Puffy Bunny Intructions

Aren't they gorgeous?! This lovely origami puffy bunny is bound to win hearts! Try with two-tone paper for a colourful effect.
For a printable Pdf version of the bunny instructions, click here.
You will need Adobe Reader installed in order to open the Pdf. You can get it here.
 |
 | |
|
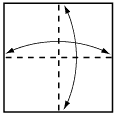
1. Start with your paper white side up. Fold in half, then in half again, as shown. Crease well, then open out again. |
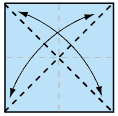
2. Turn the paper over and fold in half diagonally and in both directions. Crease well and open out once again. |
 | |
|
3. Holding the points shown, bring them both down to the centre point on the bottom line. Flatten model. This is called a waterbomb base. |
 | |
|
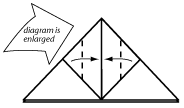
4. Fold front triangles in to centre line. |
 |
 |
|
5. Fold edges to centre line. |
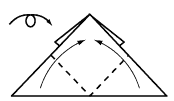
6. Fold front flaps of top triangles downwards, creasing well. |
 | |
|
7. Fold again, diagonally, then tuck into pockets. |
 |
 |
 | ||
|
8. Turn over and fold bottom corners in to centre. |
9. Fold front flap to the left. |
10. Crease front flap into toward centre line. | ||
 |
 |
 | ||
|
11. Move top flap to the right. |
12. Move the next flap to the right |
13. Crease top flap in toward centre line. |
|
|
 |
 | ||
|
14. Move top flap to the left. |
15. Fold top layers outward along creases shown. |
16. Open out the ears. |
 |
 |
 | ||
|
17. Fold nose under to form crease shown. Then fold back again. |
18. To inflate bunny, blow into its nose! |
Finished Puffy Bunny. |
Learn to make other lovely origami models just like the origami puffy bunny.
